
Introduction
invoke $ pip install fiona on MacOS or Windows and you’ll have hard time figuring out what went wrong. It is likely that you’ll encounter this error:
c:/> pip install fiona
Collecting fiona Downloading Fiona-1.8.21.tar.gz (1.0 MB) ---------------------------------------- 1.0/1.0 MB 8.2 MB/s eta 0:00:00 Preparing metadata (setup.py) ... error error: subprocess-exited-with-error...A GDAL API version must be specified. Provide a path to gdal-config using a GDAL_CONFIG environment variable or use a GDAL_VERSION environment variable.fiona is the python link for GDAL; it’s the module that allows python developer to read and write spatial data. It has one essential dependency: GDAL which is the main software behind spatial data input-output. Another one is GEOS which is the geometric engine behind GDAL and processing but it’s not quite a prominent issue in this article. The prominent issue is that the GDAL installation is tricky on windows and macos.
In this article, I will provide a practical guide to install GDAL in your windows and MacOS machine. Note that it is practical; it’s most likely relevant for you but your actual needs depend on the context of what you’re trying to do.
Some questions that this articles answers:
- how to install gdal on windows?
- how to install gdal on macos?
- how to Provide a path to gdal-config using a GDAL_CONFIG environment variable or use a GDAL_VERSION environment variable on windows or mac
In summary, this is what needs to be done:
- install anaconda
- use Anaconda Prompt instead of the usual Command-Prompt (cmd.exe). In Mac this is equivalent as setting up anaconda prompt to your environment variable. For mac users, please follow
- familiarised with
condacommand line tool to manage python package and environment
Alternative installation; if we do not want to use anaconda
- installing QGIS
- invoking GDAL from OSGeo4W shell or from QGIS console.
Let’s get started.
Alternative #1: Anaconda
Step one is to not use python from the official python website on python.org. If you have installed python from the official python website that’s fine, nothing to worry and no need to uninstall. We just need to install another python from another distributor: Anaconda.
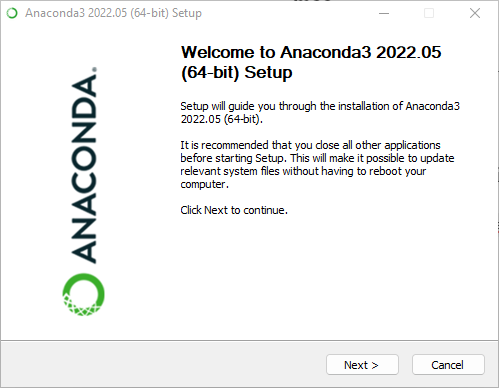
Anaconda is a python distributor but it comes with conda . We can see conda as a replacement of pip and venv although not really. conda is a tool to manage python libraries and environment within the anaconda environment. Don’t worry if you don’t understand this especially about the environment bit, but we can get started by installing anaconda:
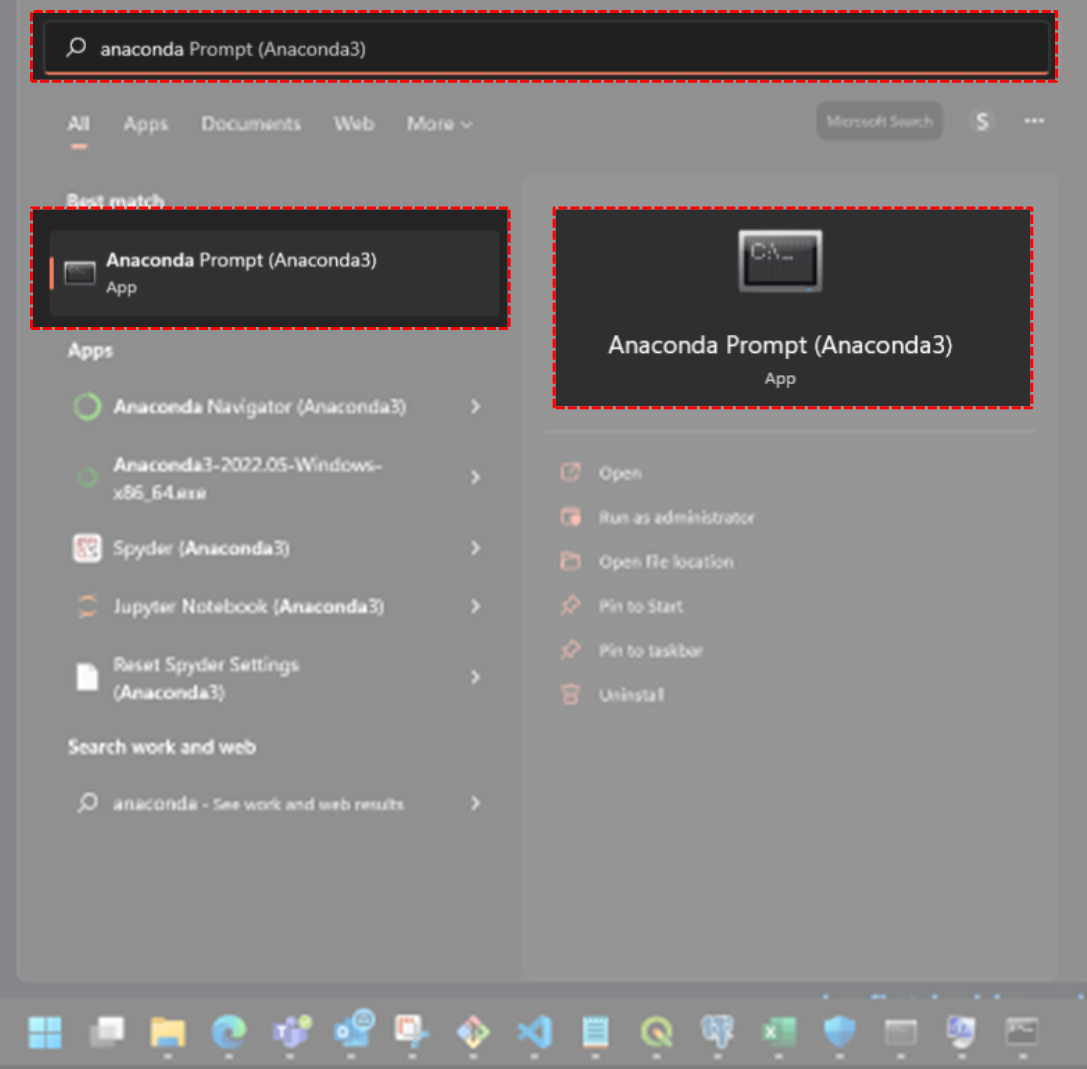
Invoke the anaconda prompt from your start button:
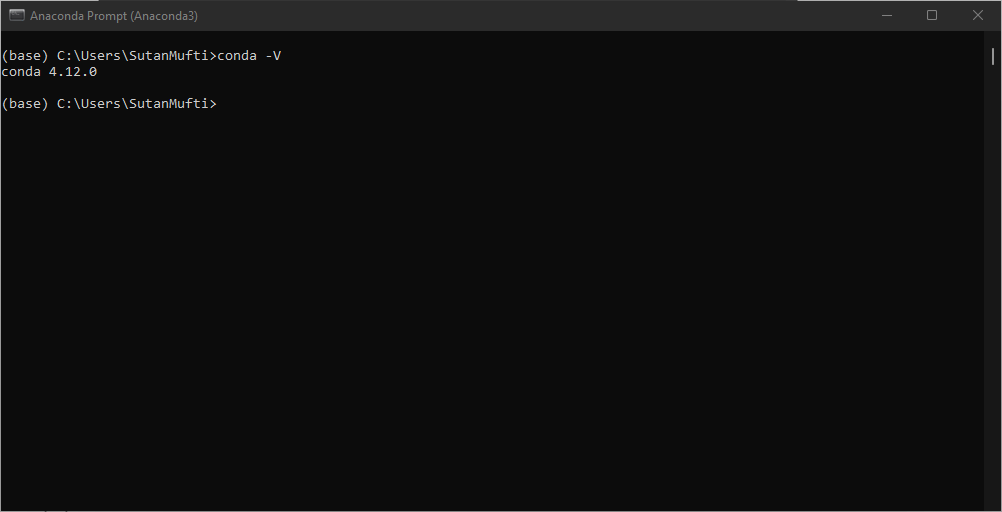
we then meet the anaconda prompt:

we can see this as another command prompt; but this one is special because it is an anaconda environment. we can use conda to do stuff. Try to invoke conda -V to see the conda version.
Forgetting Pip and settle with Conda
We can still use pip to install packages. But for gdal, let’s forget pip install gdal or pip install fiona and switch to conda.
now we can install gdal in our python by typing conda install gdal . To be precise, conda install -c conda-forge gdal . We add -c to indicate that we are using a channel, and that channel is conda-forge. Conda is the package manager for python; it works like pip but within anaconda environment. We can see conda like pip but it can do much more. Let’s explore what conda can do some other times, but now let’s focus on installing Gdal.
After gdal is installed, GDAL should be available via anaconda prompt. Search Anaconda Prompt in your start menu, and click it. It will open a command prompt windows but with anaconda environment. Treat it like a normal command prompt. Try invoking gdalinfo --version . if it prints something like the following image, then you have successfully installed GDAL!
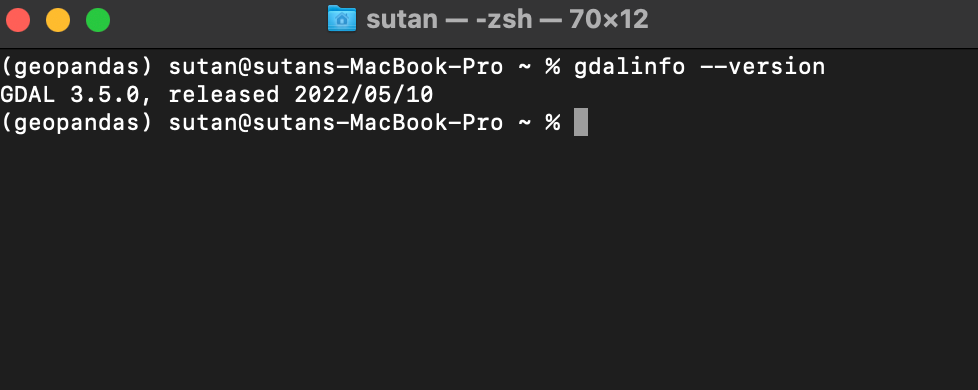
Yeay, you have installed GDAL!
Now, to use gdal, simply open anaconda prompt, use it like a normal terminal/command prompt, and get started!
An easier alternative to install is to use OSGEO Shell.
Summing it up and installing Fiona
Fiona is the python interface for IO of spatial data. It uses GDAL and is essential in spatial Data Science. So here’s the command lines in Anaconda Prompt to install both Fiona and GDAL:
C:> conda install -c conda-forge gdal
...
C:> conda install -c conda-forge fiona
...
C:> echo gdal and fiona are installed. let's check it. we can use python and import osgeo module to import gdal, or just straight type gdalinfo --version
C:> python -c "import fiona; print(fiona.__version__)"
C:> python -c "from osgeo import gdal; print(gdal.__version__)"
C:> gdalinfo --version
Alternative #2: Osgeo4W shell, or from QGIS
this is much easier. Just install QGIS. QGIS is a geographic information system software; this is the first thing first to learn in GIS. It’s free, it’s opensource, it’s for everyone.
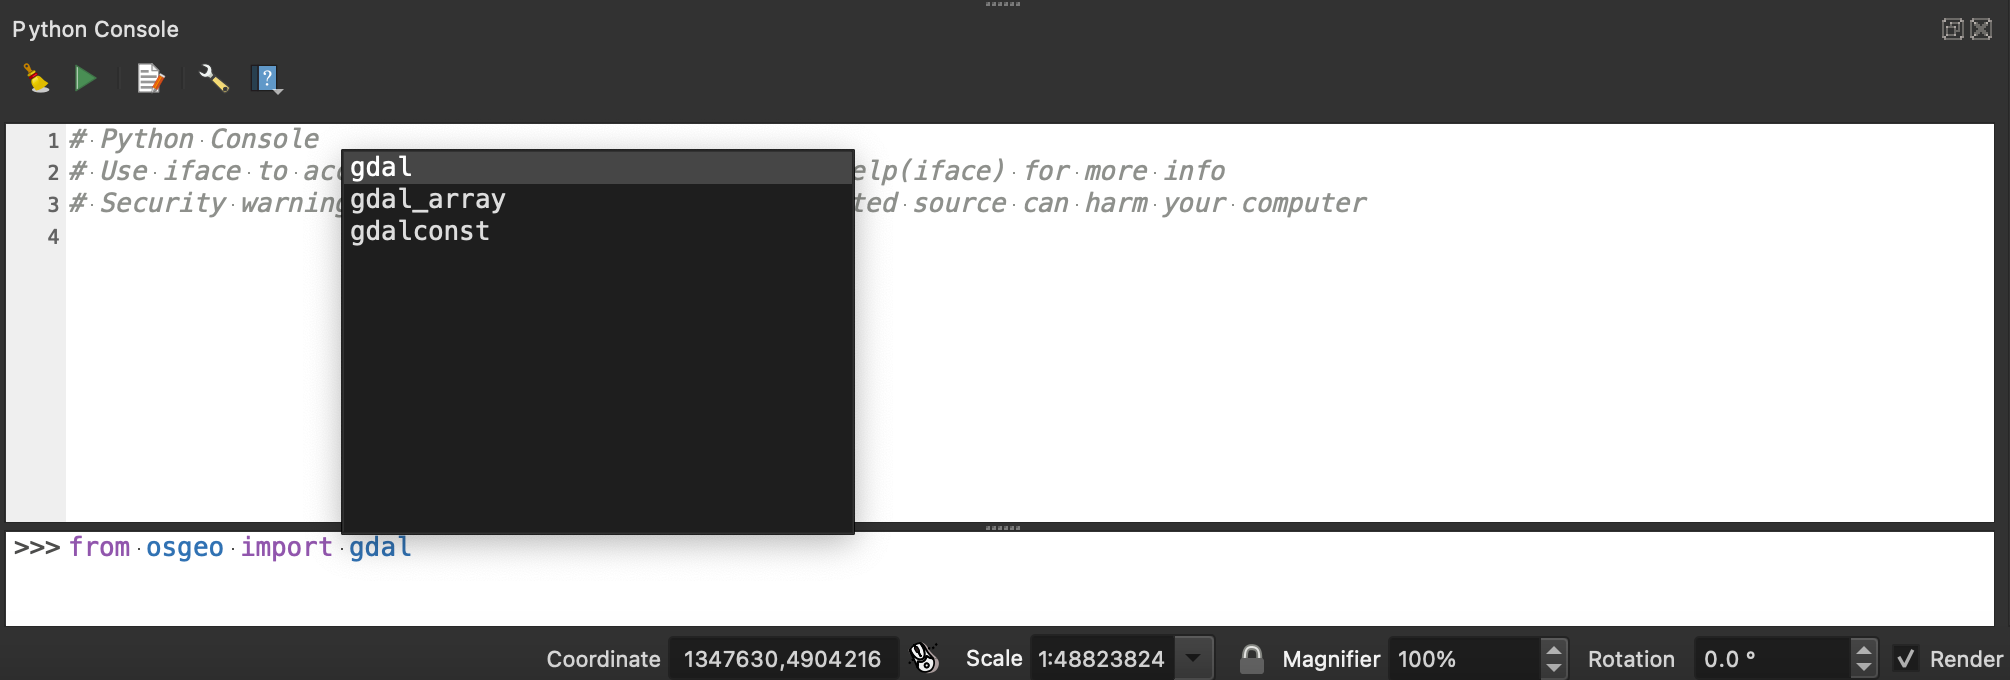
You can access GDAL from the python shell inside the terminal, or from the QGIS Python console. If you are using the Python console, then I expect you have basic understanding of simple python syntax. I don’t think it takes that long to learn python, it’s quite straight forward. Then again, if you are using GDAL anyway, Python should be easy; it’s hard to imagine people who use GDAL that can not learn Python (just my opinion).
terminal style
If you’d like to use it as a normal terminal style CLI, then search for osgeo4w shell and execute it. It will open a command prompt/terminal with the GDAL environment set up. again, invoke gdalinfo --version to verify that it has been installed.
Conclusion
Yeah! We have installed GDAL with either conda or QGIS. The simplest perhaps is just to install QGIS, there is no easier way than to just click install and just follow the wizard. The long term measure is just to install anaconda and learn basic conda syntax. I suggest installing it in anaconda because it can anticipate future requirements better than just QGIS console.


