Using Poetry and Docker to Package Your Model for AWS Lambda
An accessible tutorial for one way to put a model into production, with special focus on troubleshooting and hiccups you might encounter along the way
As promised, this week I’m coming with a more technical topic and taking a little break from all the discussions of business. I recently had an opportunity to deploy a new model using AWS Lambda, and I learned a few things when combining my usual development tooling (Poetry) with the infrastructure of Lambda. (Big hat tip to my teammate Aaron for teaching me new stuff!) I’m going to walk through the less obvious steps to getting a locally trained model deployed to Lambda successfully.
For my regular readers who are not interested in the nuts and bolts of model development, fear not, I’ll be back to commenting on social issues and machine learning next time!
Setting up your model architecture
If you don’t already have a preferred package manager/environment manager tool in Python, let me make a case for Poetry. It took me a while to get started and get the hang of it, but I’ve been using it for a couple of years now and have become a real fan. Some folks prefer venv or other more bare bones tooling, which is fine, but Poetry has some nice extra features that I think are worth it. (If you don’t have any experience with Poetry, please visit the official docs at https://python-poetry.org/ and they can get you set up.)
One of the selling points I’d like to emphasize is that Poetry makes it quite easy to package your project so that internal modules you create are callable without a lot of fuss. This means that you don’t have to fight the “Python says that module doesn’t exist” battle that I’m sure many of us are familiar with.
The example embedded here is just the head of the pyproject.toml file for a project like this one — notice the line starting with packages telling this env to include the package I’m creating in its imports. This is what lets me call things like from new_package.tools import stuff anywhere inside this project, even if those things are not in the immediate parent directory or whatever.
[tool.poetry]
name = "new_package"
version = "0.1.0"
description = "What this package is gonna do"
authors = [
    "Stephanie Kirmer <stephanie@stephaniekirmer.com>",
]

packages = [{ include = "new_package"}]
include = [{ path = "tests", format = "sdist" }]

[build-system]
requires = ["poetry-core>=1.0.0"]
build-backend = "poetry.core.masonry.api"

# Requirements
[tool.poetry.dependencies]
python = ">=3.9, <4.0"
Assuming you’re sold on Poetry, then you can use this to define your environment and manage all your dependencies, and you’ll be developing your model and its pipelines inside that project. Go ahead and build and train your model, and come back when that bit is done. I’ll wait.
Ok, welcome back! Because you know you’re going to be deploying this model through Docker in Lambda, that dictates how your inference pipeline should be structured.
You need to construct a “handler”. What is that, exactly? It’s just a function that accepts the JSON object that is passed to the Lambda, and it returns whatever your model’s results are, again in a JSON payload. So, everything your inference pipeline is going to do needs to be called inside this function.
In the case of my project, I’ve got a whole codebase of feature engineering functions: mountains of stuff involving semantic embeddings, a bunch of aggregations, regexes, and more. I’ve consolidated them into a FeatureEngineering class, which has a bunch of private methods but just one public one, feature_eng. So starting from the JSON that is being passed to the model, that method can run all the steps required to get the data from “raw” to “features”. I like setting up this way because it abstracts away a lot of complexity from the handler function itself. I can literally just call:
fe = FeatureEngineering(input=json_object)
processed_features = fe.feature_eng()
And I’m off to the races, my features come out clean and ready to go.
Be advised: I have written exhaustive unit tests on all the inner guts of this class because while it is neat to write it this way, I still need to be extremely conscious of any changes that might occur under the hood. Write your unit tests! If you make one small change, you may not be able to immediately tell you’ve broken something in the pipeline until it’s already causing problems.
The second half is the inference work, and this is a separate class in my case. I’ve gone for a very similar approach, which just takes in a few arguments.
ps = PredictionStage(features=processed_features)
predictions = ps.predict(
    feature_file="feature_set.json",
    model_file="classifier",
)
The class initialization accepts the result of the feature engineering class’s method, so that handshake is clearly defined. Then the prediction method takes two items: the feature set (a JSON file listing all the feature names) and the model object, in my case a CatBoost classifier I’ve already trained and saved. I’m using the native CatBoost save method, but whatever you use and whatever model algorithm you use is fine. The point is that this method abstracts away a bunch of underlying stuff, and neatly returns the predictions object, which is what my Lambda is going to give you when it runs.
So, to recap, my “handler” function is essentially just this:
def lambda_handler(json_object, _context):

  fe = FeatureEngineering(input=json_object)
  processed_features = fe.feature_eng()

  ps = PredictionStage(features=processed_features)
  predictions = ps.predict(
      feature_file="feature_set.json",
      model_file="classifier",
  )

  return predictions.to_dict("records")
Nothing more to it! You might want to add some controls for malformed inputs, so that if your Lambda gets an empty JSON, or a list, or some other weird stuff it’s ready, but that’s not required. Do make sure your output is in JSON or similar format, however (here I’m giving back a dict).
Building your Docker image
This is all great, we have a Poetry project with a fully defined environment and all the dependencies, as well as the ability to load the modules we create, etc. Good stuff. But now we need to translate that into a Docker image that we can put on AWS.
Here I’m showing you a skeleton of the dockerfile for this situation. First, we’re pulling from AWS to get the right base image for Lambda. Next, we need to set up the file structure that will be used inside the Docker image. This may or may not be exactly like what you’ve got in your Poetry project — mine is not, because I’ve got a bunch of extra junk here and there that isn’t necessary for the prod inference pipeline, including my training code. I just need to put the inference stuff in this image, that’s all.
The beginning of the dockerfile
FROM public.ecr.aws/lambda/python:3.9

ARG YOUR_ENV
ENV NLTK_DATA=/tmp
ENV HF_HOME=/tmp
In this project, anything you copy over is going to live in a /tmp folder, so if you have packages in your project that are going to try and save data at any point, you need to direct them to the right place.
You also need to make sure that Poetry gets installed right in your Docker image- that’s what will make all your carefully curated dependencies work right. Here I’m setting the version and telling pip to install Poetry before we go any further.
ENV YOUR_ENV=${YOUR_ENV} \
  POETRY_VERSION=1.7.1
ENV SKIP_HACK=true

RUN pip install "poetry==$POETRY_VERSION"
The next issue is making sure all the files and folders your project uses locally get added to this new image correctly — Docker copy will irritatingly flatten directories sometimes, so if you get this built and start seeing “module not found” issues, check to make sure that isn’t happening to you. Hint: add RUN ls -R to the dockerfile once it’s all copied to see what the directory is looking like. You’ll be able to view those logs in Docker and it might reveal any issues.
Also, make sure you copy everything you need! That includes the Lambda file, your Poetry files, your feature list file, and your model. All of this is going to be needed unless you store these elsewhere, like on S3, and make the Lambda download them on the fly. (That’s a perfectly reasonable strategy for developing something like this, but not what we’re doing today.)
WORKDIR ${LAMBDA_TASK_ROOT}

COPY /poetry.lock ${LAMBDA_TASK_ROOT}
COPY /pyproject.toml ${LAMBDA_TASK_ROOT}
COPY /new_package/lambda_dir/lambda_function.py ${LAMBDA_TASK_ROOT}
COPY /new_package/preprocessing ${LAMBDA_TASK_ROOT}/new_package/preprocessing
COPY /new_package/tools ${LAMBDA_TASK_ROOT}/new_package/tools
COPY /new_package/modeling/feature_set.json ${LAMBDA_TASK_ROOT}/new_package
COPY /data/models/classifier ${LAMBDA_TASK_ROOT}/new_package
We’re almost done! The last thing you should do is actually install your Poetry environment and then set up your handler to run. There are a couple of important flags here, including --no-dev , which tells Poetry not to add any developer tools you have in your environment, perhaps like pytest or black.
The end of the dockerfile
RUN poetry config virtualenvs.create false
RUN poetry install --no-dev

CMD [ "lambda_function.lambda_handler" ]
That’s it, you’ve got your dockerfile! Now it’s time to build it.
- Make sure Docker is installed and running on your computer. This may take a second but it won’t be too difficult.
- Go to the directory where your dockerfile is, which should be the the top level of your project, and run
docker build .Let Docker do its thing and then when it’s completed the build, it will stop returning messages. You can see in the Docker application console if it’s built successfully. - Go back to the terminal and run
docker image lsand you’ll see the new image you’ve just built, and it’ll have an ID number attached. - From the terminal once again, run
docker run -p 9000:8080 IMAGE ID NUMBERwith your ID number from step 3 filled in. Now your Docker image will start to run! - Open a new terminal (Docker is attached to your old window, just leave it there), and you can pass something to your Lambda, now running via Docker. I personally like to put my inputs into a JSON file, such as
lambda_cases.json, and run them like so:
curl -d @lambda_cases.json http://localhost:9000/2015-03-31/functions/function/invocationsIf the result at the terminal is the model’s predictions, then you’re ready to rock. If not, check out the errors and see what might be amiss. Odds are, you’ll have to debug a little and work out some kinks before this is all running smoothly, but that’s all part of the process.
Deploying to AWS and testing
The next stage will depend a lot on your organization’s setup, and I’m not a devops expert, so I’ll have to be a little bit vague. Our system uses the AWS Elastic Container Registry (ECR) to store the built Docker image and Lambda accesses it from there.
When you are fully satisfied with the Docker image from the previous step, you’ll need to build one more time, using the format below. The first flag indicates the platform you’re using for Lambda. (Put a pin in that, it’s going to come up again later.) The item after the -t flag is the path to where your AWS ECR images go- fill in your correct account number, region, and project name.
docker build . --platform=linux/arm64 -t accountnumber.dkr.ecr.us-east-1.amazonaws.com/your_lambda_project:latestAfter this, you should authenticate to an Amazon ECR registry in your terminal, probably using the command aws ecr get-login-password and using the appropriate flags.
Finally, you can push your new Docker image up to ECR:
docker push accountnumber.dkr.ecr.us-east-1.amazonaws.com/your_lambda_project:latestIf you’ve authenticated correctly, this should only take a moment.
There’s one more step before you’re ready to go, and that is setting up the Lambda in the AWS UI. Go log in to your AWS account, and find the “Lambda” product.

Pop open the lefthand menu, and find “Functions”.
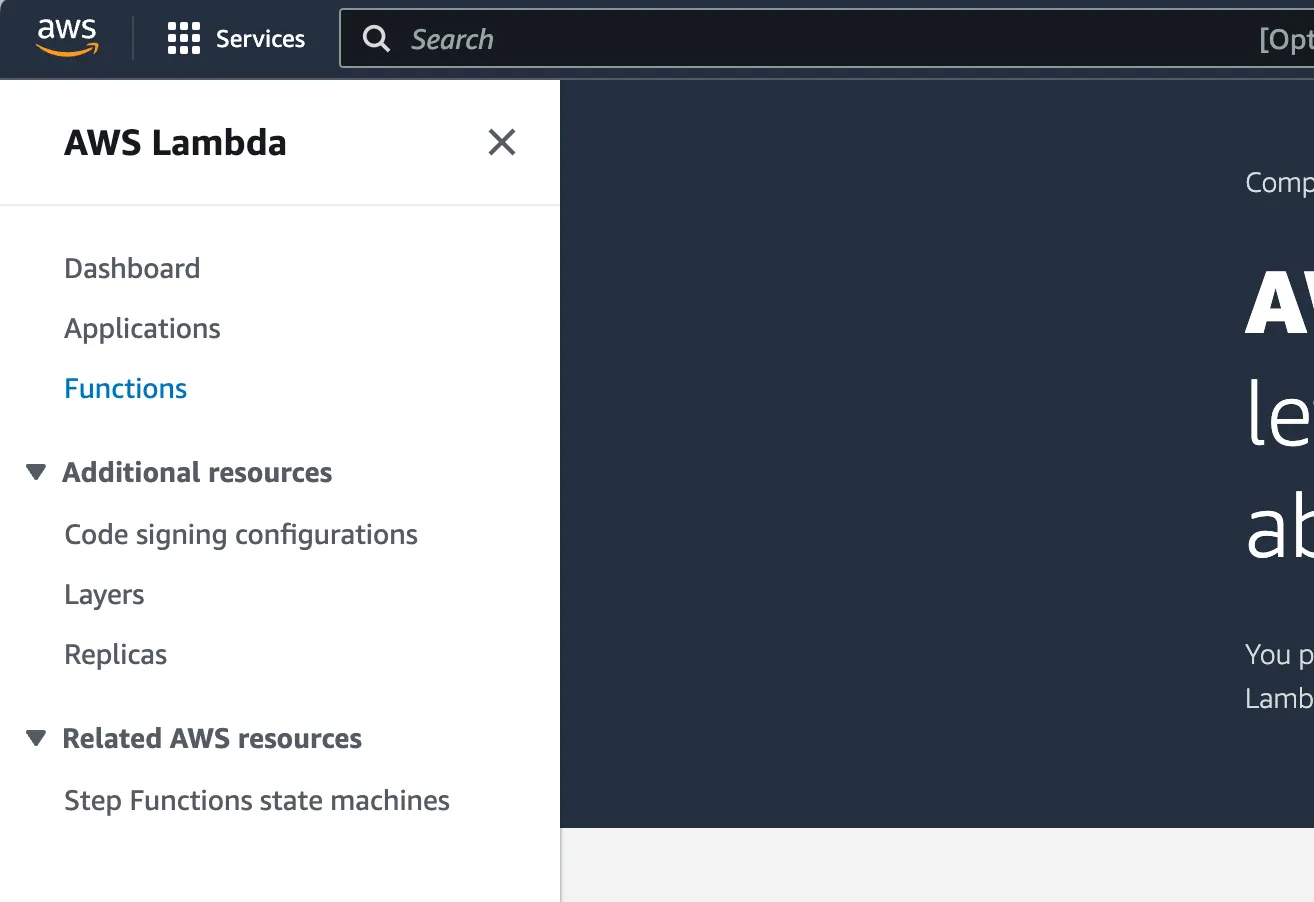
This is where you’ll go to find your specific project. If you have not set up a Lambda yet, hit “Create Function” and follow the instructions to create a new function based on your container image.

If you’ve already created a function, go find that one. From there, all you need to do is hit “Deploy New Image”. Regardless of whether it’s a whole new function or just a new image, make sure you select the platform that matches what you did in your Docker build! (Remember that pin?)

The last task, and the reason I’ve carried on explaining up to this stage, is to test your image in the actual Lambda environment. This can turn up bugs you didn’t encounter in your local tests! Flip to the Test tab and create a new test by inputting a JSON body that reflects what your model is going to be seeing in production. Run the test, and make sure your model does what is intended.

If it works, then you did it! You’ve deployed your model. Congratulations!
Troubleshooting
There are a number of possible hiccups that may show up here, however. But don’t panic, if you have an error! There are solutions.
- If your Lambda runs out of memory, go to the Configurations tab and increase the memory.
- If the image didn’t work because it’s too large (10GB is the max), go back to the Docker building stage and try to cut down the size of the contents. Don’t package up extremely large files if the model can do without them. At worst, you may need to save your model to S3 and have the function load it.
- If you have trouble navigating AWS, you’re not the first. Consult with your IT or Devops team to get help. Don’t make a mistake that will cost your company lots of money!
- If you have another issue not mentioned, please post a comment and I’ll do my best to advise.
Good luck, happy modeling!
Upcoming talks: I will be speaking remotely about data science career trajectories to the Overseas Chinese Association for Institutional Research (OCAIR) on Friday, April 12, at 1 pm US Central Time. Check with OCAIR about how to join if you’d like to tune in.
(All images in this post except the header photo are created by the author.)
See more of my work at www.stephaniekirmer.com.