How to Create a GitHub Repository for Python Data Science Projects
Learn how to use GitHub repositories to share and collaborate on data science projects

I. What is Git?
Git is a version control system – a software tool that allows developers to track and manage changes to the code in a special kind of database. Since it was developed in 2005 by Linus Torvalds, Git has grown to be one of the most widely used version control systems. GitHub is a code repository hosting service that you can use for free to share and collaborate on code.
Some advantages of using GitHub for collaborative projects are:
- When the code breaks, developers can return to an earlier version of the code to identify problems in an isolated branch, minimizing disruption to other aspects of the project.
- The separate branches allow members of a team to working on different aspects of the same project to make changes without affecting the other teams.
- When changes are complete, they can be merged into the main branch. Any conflicting changes are flagged so they can be addressed.
GitHub keeps track of how often you contribute (or upload) files to your GitHub. This is a great way to show potential employers that you are serious about Coding.
II. Creating a Project Repository on GitHub
- If you are starting from scratch, take a look at General Setup for Data Science Projects with Python, Virtual Environments I: Installing Pyenv with Homebrew, and Jupyter Notebooks I: Getting Started with Jupyter Notebooks. The proper data science project setup is important for this tutorial.
- Make sure that you followed the steps outlined in the first four parts of this tutorial and that you have:
- Created a project folder
- Activated the a new virtual environment in the project folder
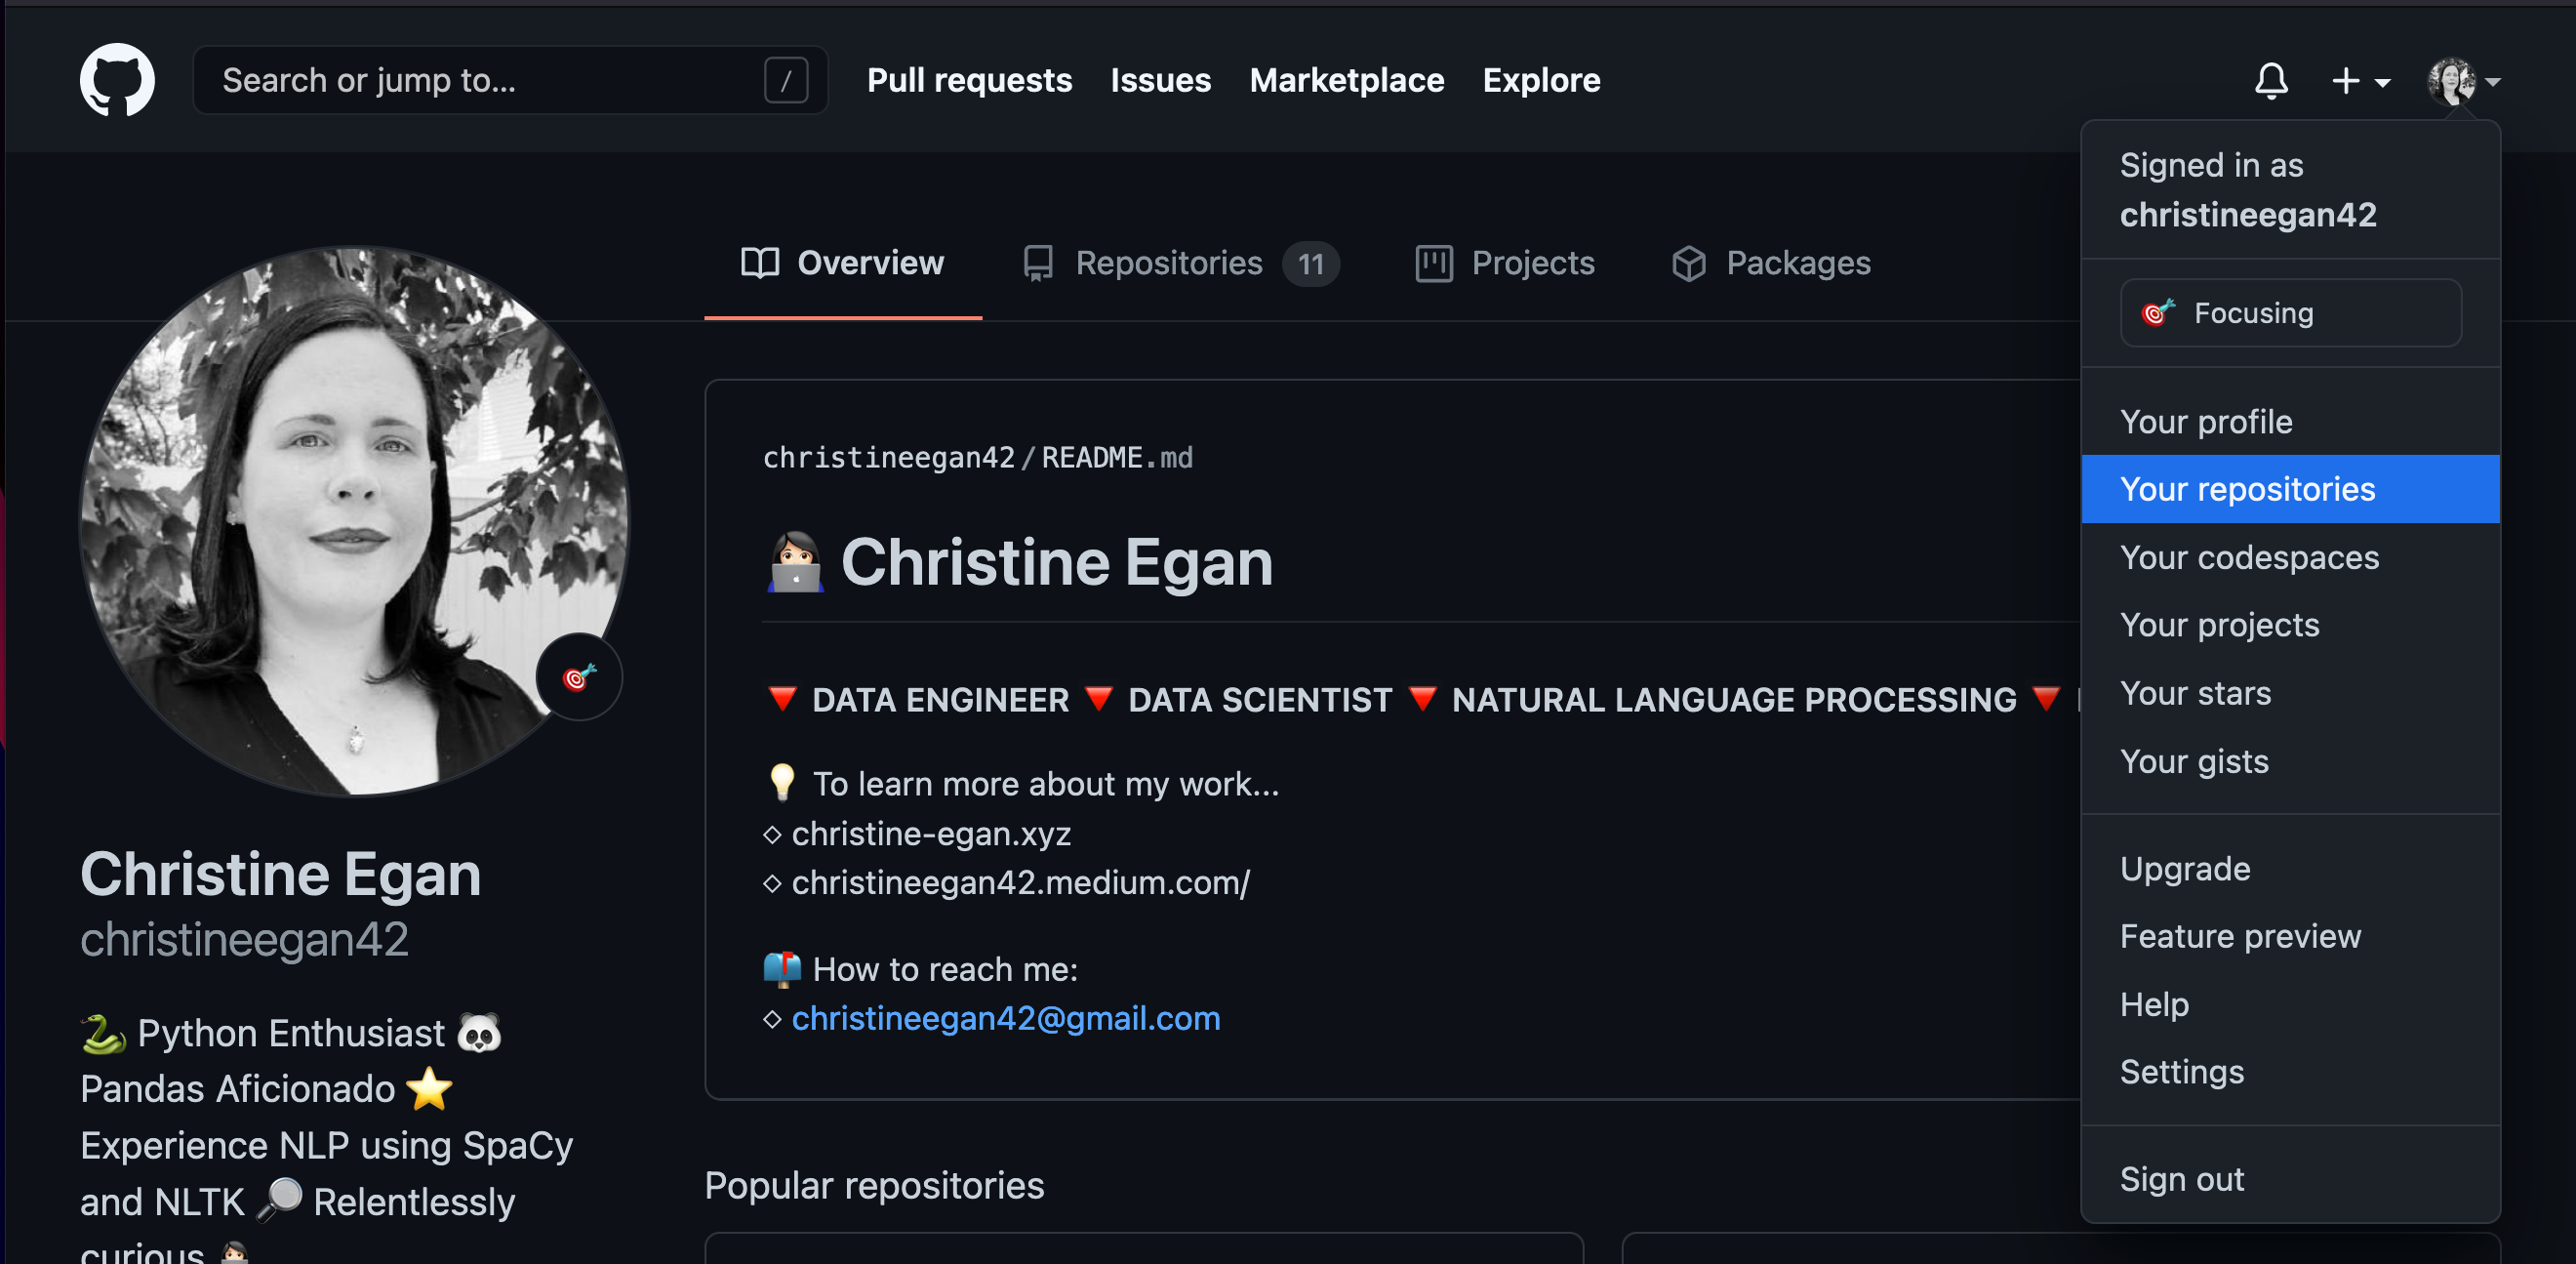
- Navigate to GitHub.com. Create an account if you don’t have one. Head over to the Your repositories tab on the drop down menu in the top right corner near your profile picture
- Once there, click on the green button in the upper right corner that reads New.
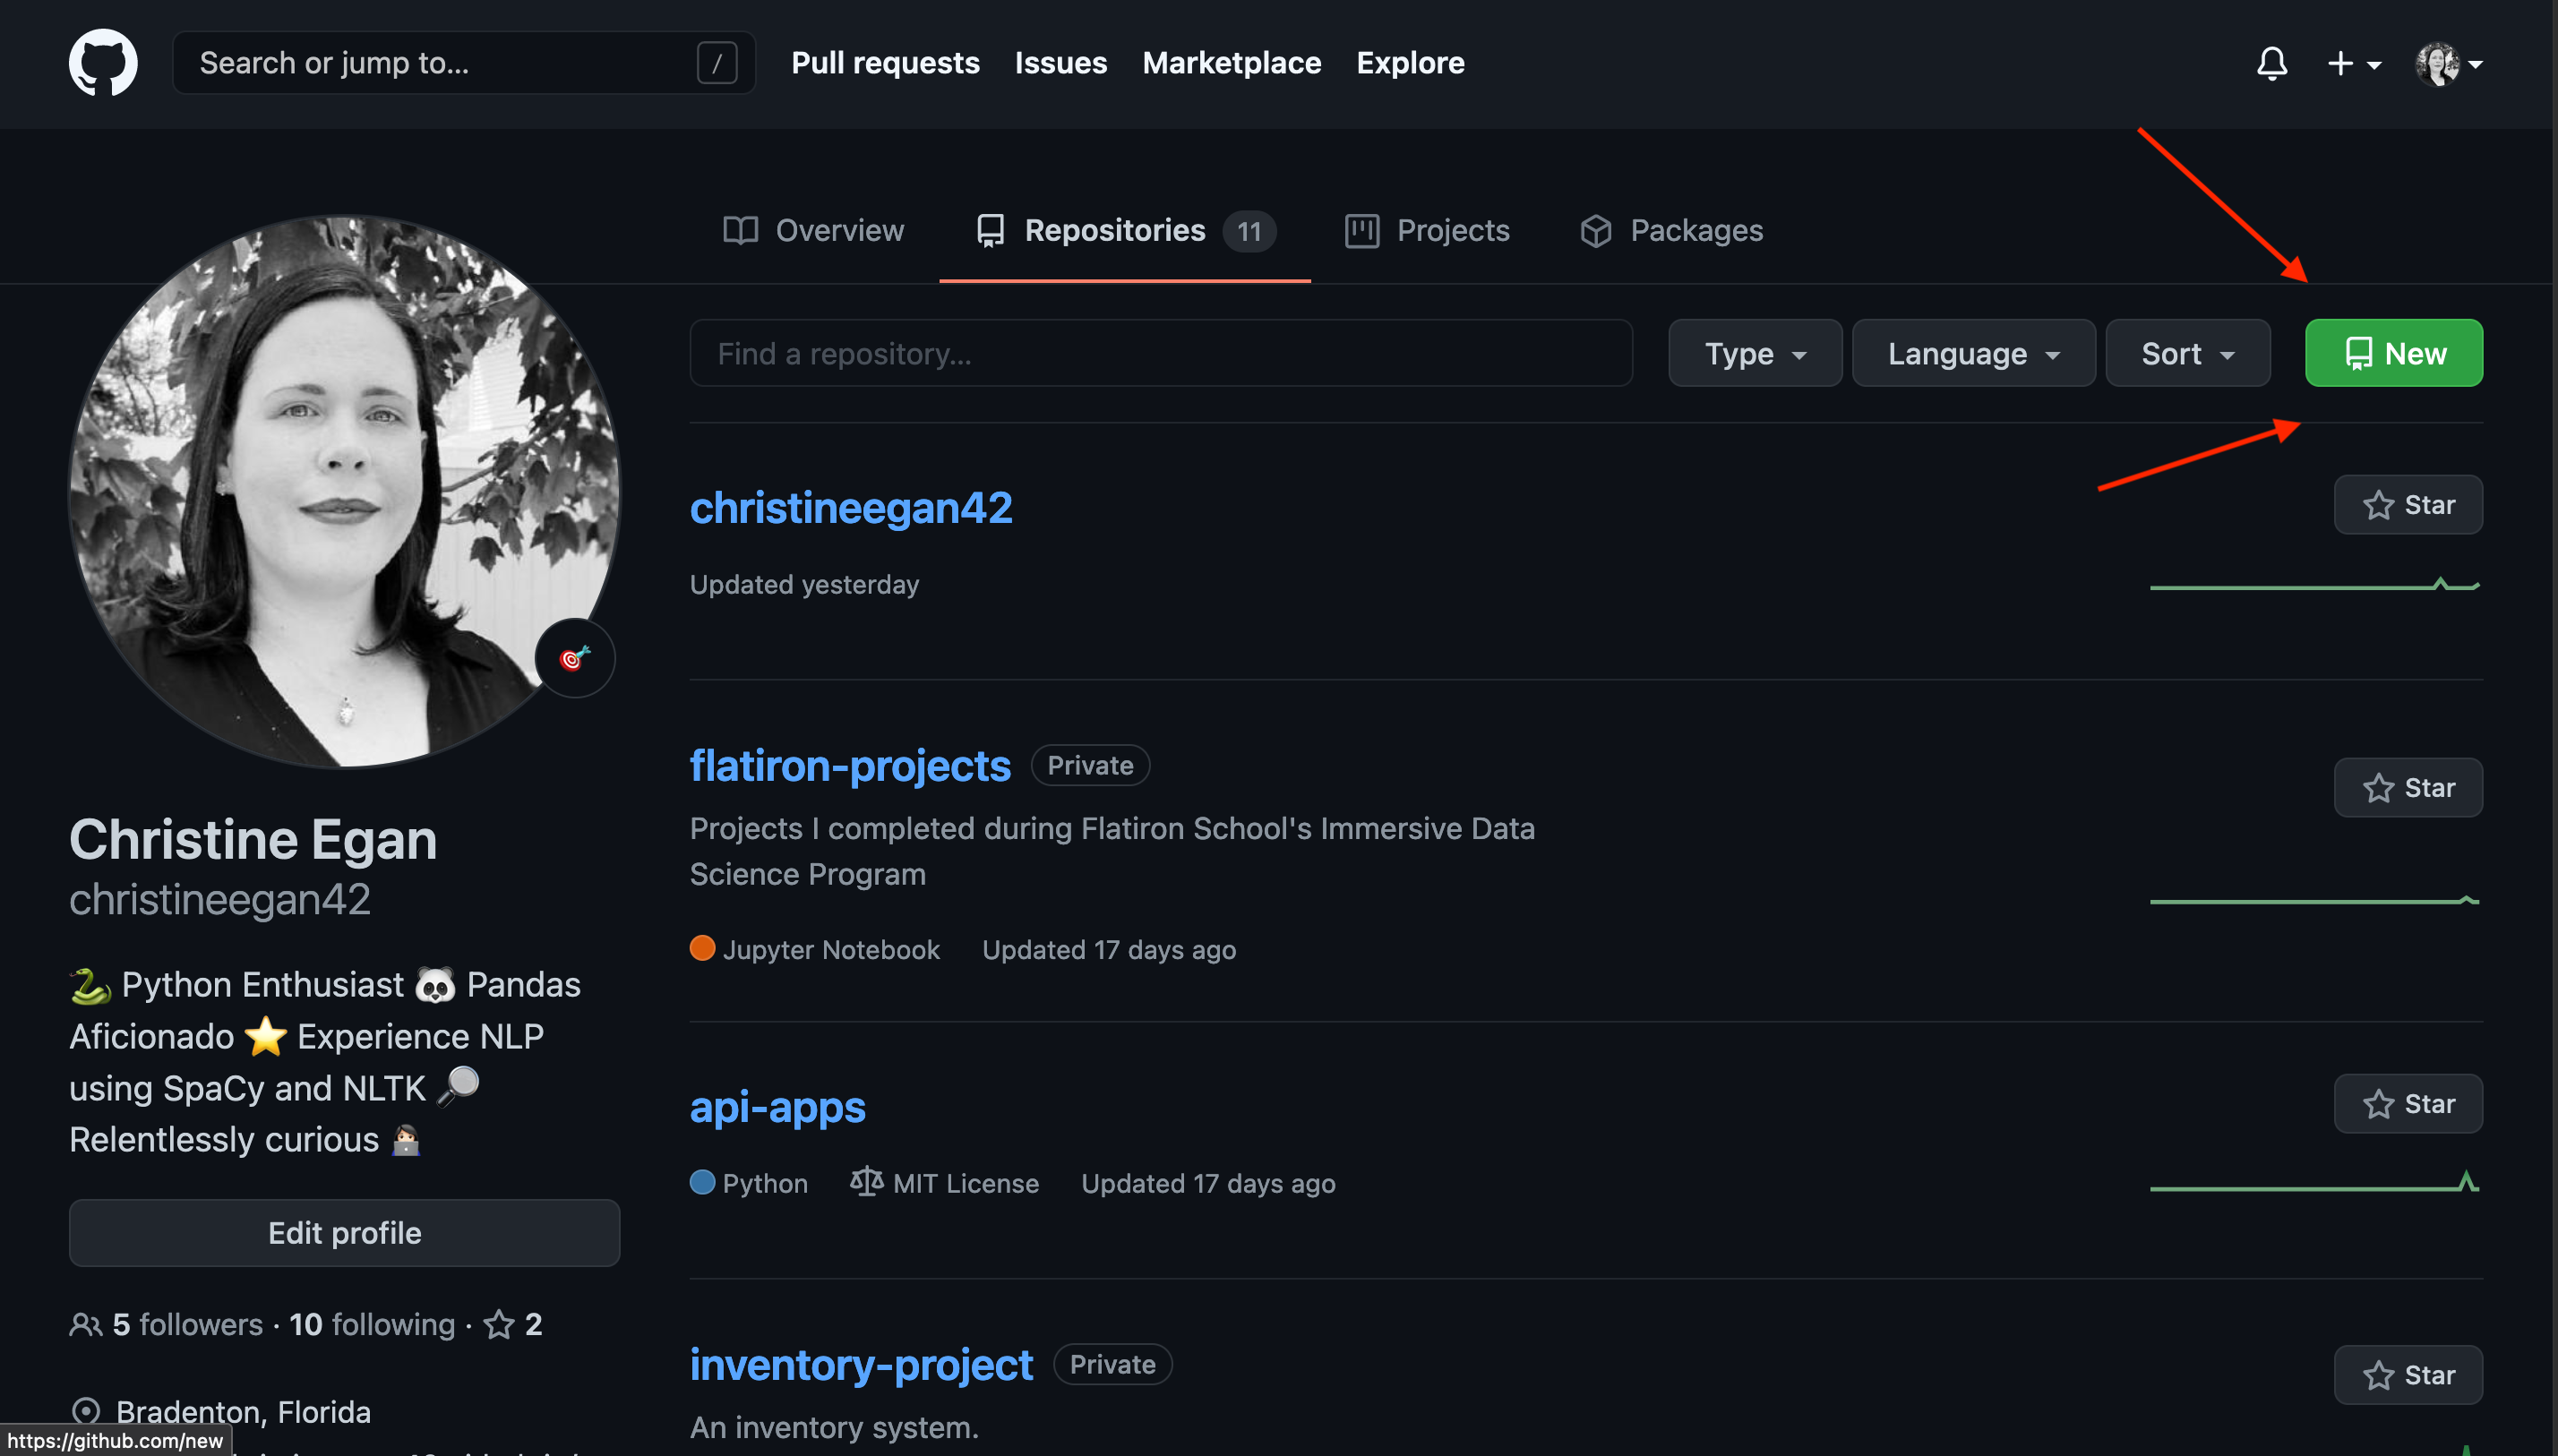
- Enter a unique repository name and short description. You can change it later if you want. The naming conventions for repositories suggest that using lowercase names separated by dashes (e.g. "my-project") is best. Set the repository to public or private.
Note: If you’re following the Data in Day tutorials, you can name this project "metal-project" with the description of "Data in a Day tutorial repository" for now.

- When you get to the bottom of the page DO NOT select any of the items in the "Initialize this repository with" section. Click Create repository.

- A new screen will appear with some instructions. Below, I will provide the same instructions, with some extra details for beginners.

III. Initialize Your Repository Locally
Now that you have created a repository on Github.com, it is time to sync your project folder with your repository by initializing the repository you have created on GitHub.com to your project folder.
- Open up Terminal and enter:
$ cd my-project- Once you are in there, you can initialize the repository by entering the following (make sure to substitute your username):
git remote add origin https://github.com/username/my-project.git
git branch -M main
git push -u origin main
Now, the repository is initialized inside of your local project folder. This is how we will connect our local files to the repository that is online. Once connected, we can use commands to push (or upload) new versions of our project as we complete them. GitHub will keep track of the changes and the different versions.
V. What’s Next?
- In General Setup for Data Science Projects with Python, you installed the foundational packages needed to get started by installing CLT, Xcode, Hombrew, Python, and Pip.
- In Virtual Environments I: Installing Pyenv with Homebrew you learned how to create virtual environments for your Python data science projects using Pyenv, Virtualenv, and Pip on Mac OS Big Sur.
- In Jupyter Notebooks I: Getting Started with Jupyter Notebooks, you linked Jupyter notebooks to your project’s virtual environment by creating a kernel spec.
- Finally, in this tutorial you created a GitHub repository on GitHub.com and initialized that repository locally (on your own computer).
In the next section, Python Beginner Essentials for Data Science, you will create a Jupyter notebooks documenting your project and I will show you how to make your first commit by pushing this notebook to your GitHub repository.
Thanks for reading!

 Christine Egan ◇ christine-egan.xyz